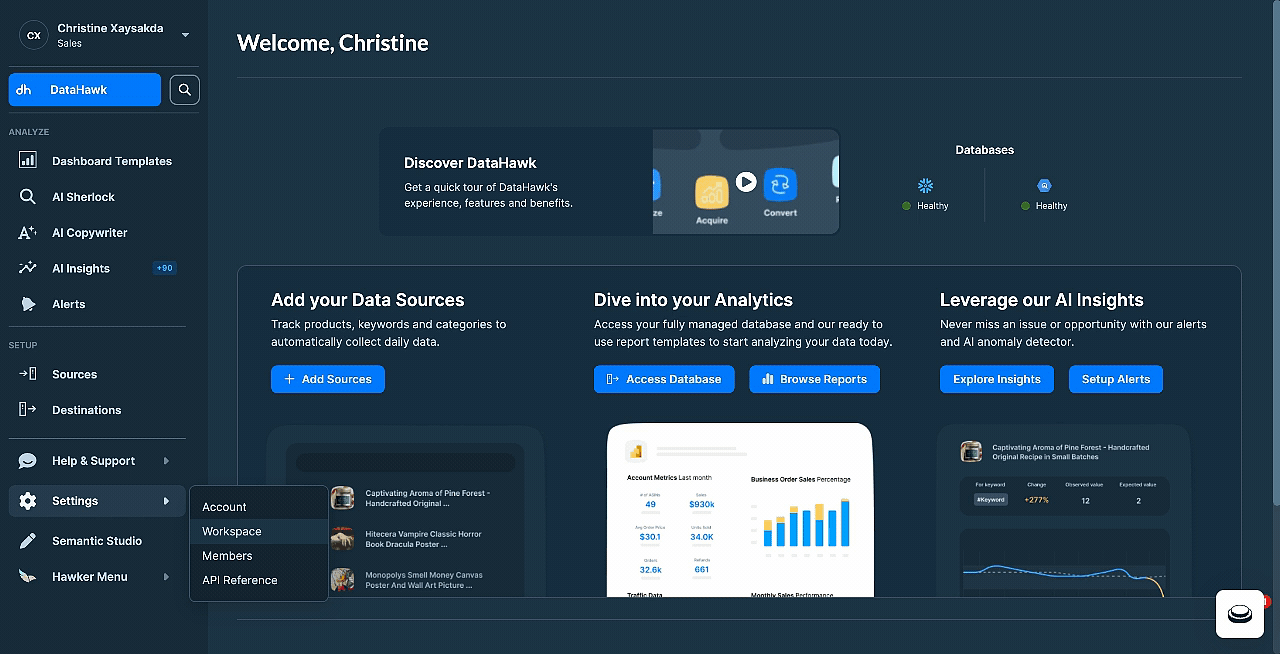
Workspace Management
Organize teams and data efficiently with separate workspaces for different business units or projects.
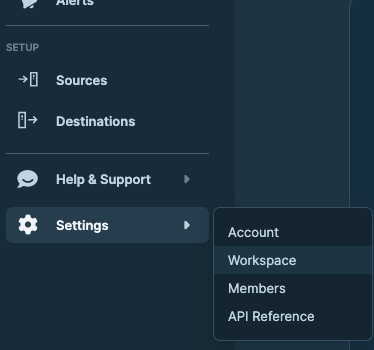
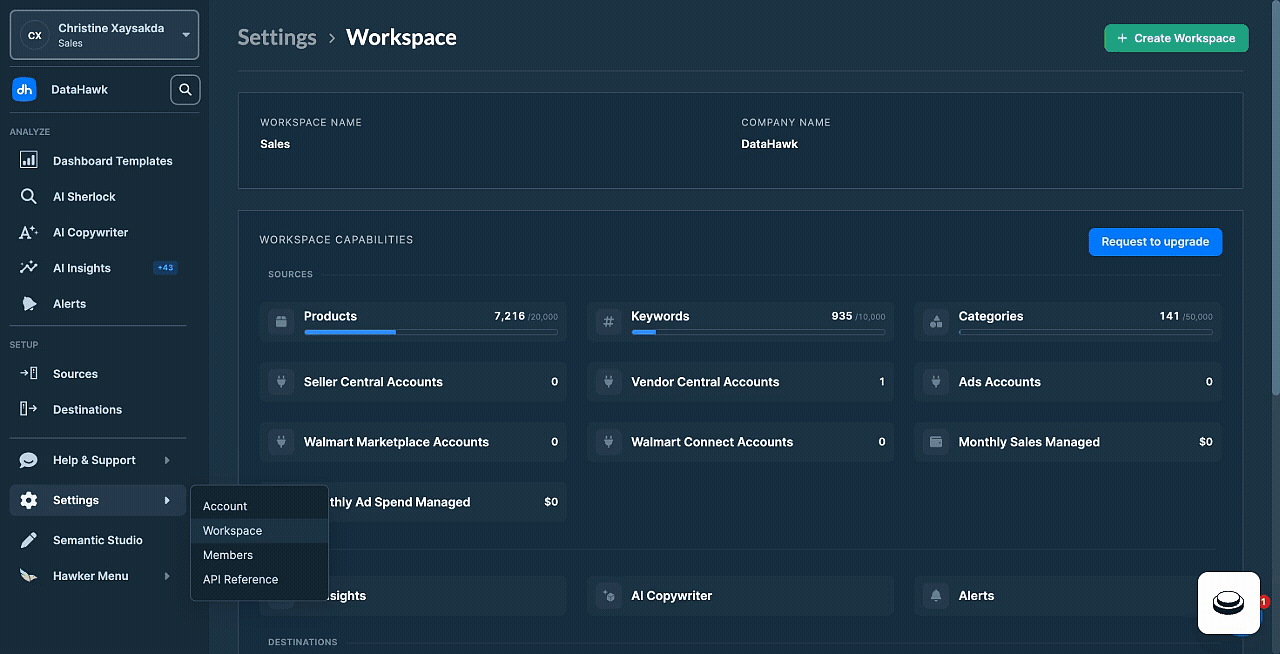
A workspace is an isolated environment for a brand, client, or business unit. Each one has its own data, settings, and members. Use Settings → Workspace to create new workspaces, monitor your current usage against your plan, and request upgrades.
Create a new workspace
There are two ways to create a new workspace. Use whichever entry point you're closer to.

Fill in workspace details
Enter the workspace name, your phone number, company size, company name, and a short description of what you do.
Submit
Click Submit to create the workspace.
Click + Add Workspace
In the dropdown, select + Add Workspace.
Fill in workspace details
Enter the workspace name, your phone number, company size, company name, and a short description of what you do.
Submit
Click Submit to create the workspace.
New workspaces start fresh. They don't copy settings, sources, or members from existing ones.
Workspace capabilities
Go to the Workspace Capabilities section to check your current usage against your plan limits.
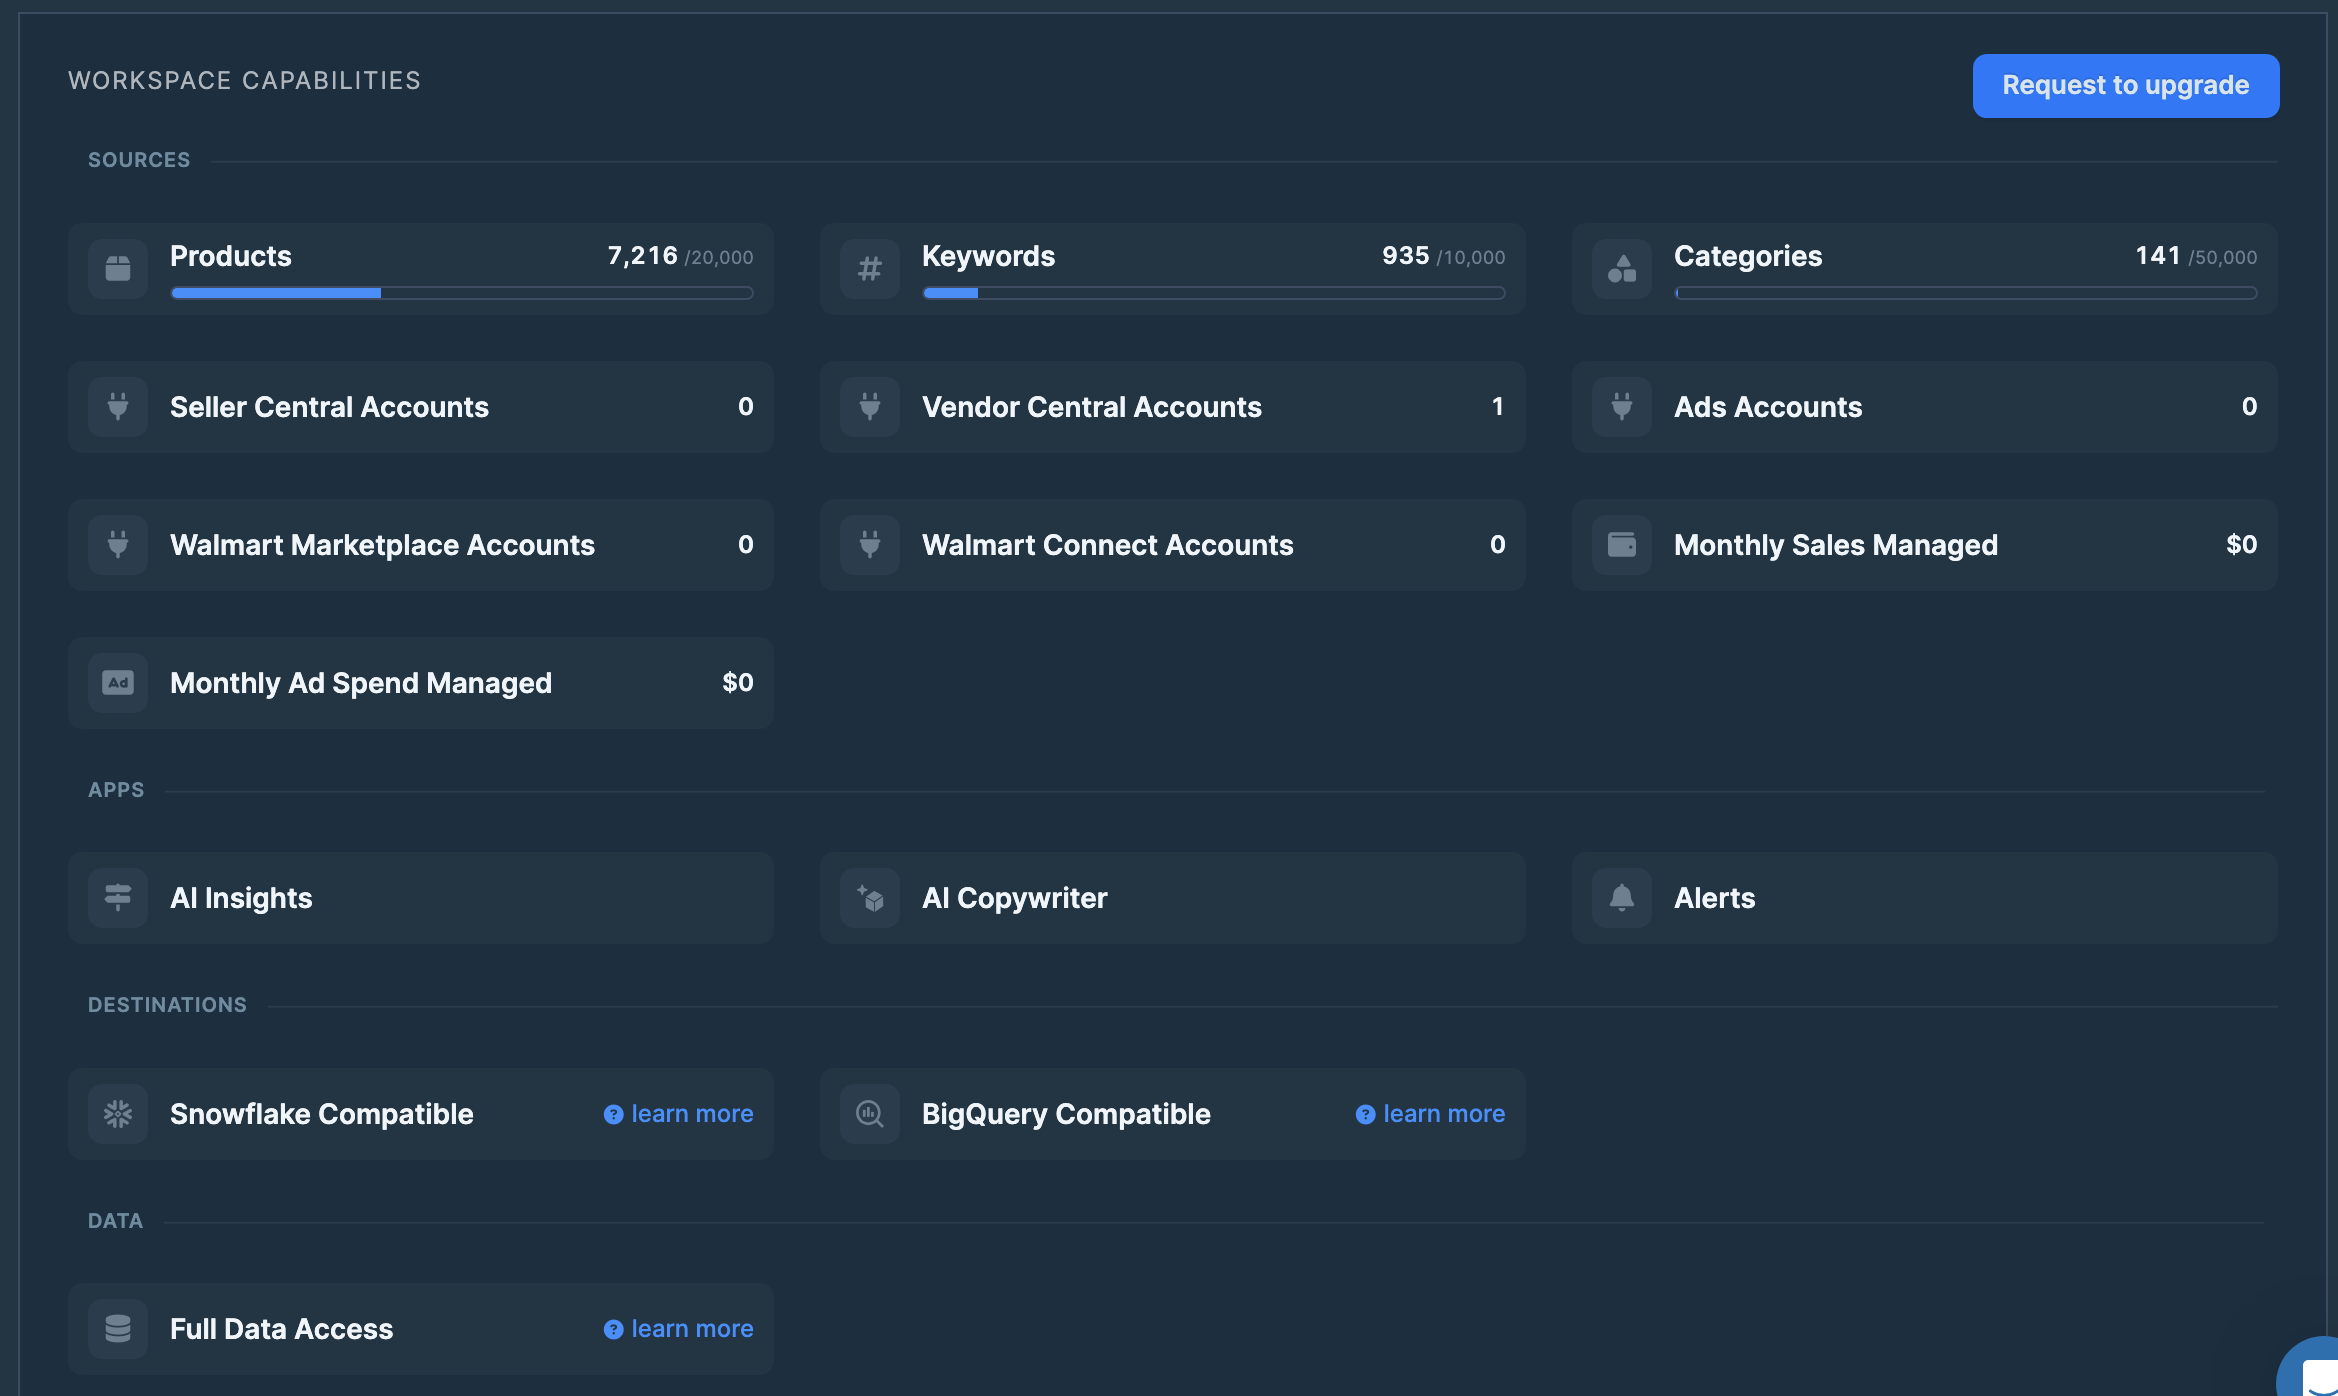
Request an upgrade
If you're maxing out your workspace capabilities and want to upgrade, click Request to upgrade: Our team will reach out to discuss options.

Update workspace information
To change your workspace name or other workspace-level settings, navigate to Settings → Account from inside the workspace you want to edit. See Manage your Account for the available fields.