Recipient groups & email setup
Manage who receives which alerts. Create, edit, and delete recipient groups to route alert emails to the right teams.
Recipient groups decide who gets which alert email. Setting them up by team, priority, or client is the cleanest way to keep your Buy Box notifications out of the wrong inbox. This page covers when to create a group, how to set one up alongside an alert, and how to edit it later.
When to use recipient groups
- Different teams: Buy Box alerts to your paid-media team, listing alerts to your content team
- Different priorities: Top-seller alerts to leadership, full catalog alerts to operations
- Per-client: Agencies can route alerts to each client's stakeholders
Create a group
Open the Alerts module
Open Apps → Alerts and click + Alert.
Configure the alert basics
Select your triggers, click Continue, then pick the product(s) to be alerted on.
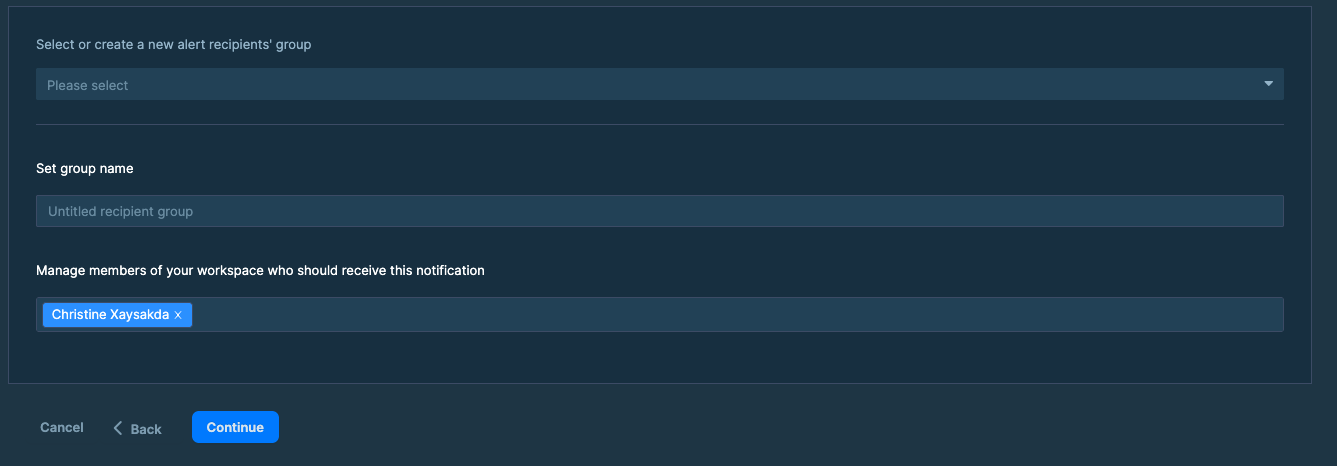
Name the group and add members
Add the group name, then select the members of the workspace that should receive notifications.
Name and save the alert
Name your alert, then click Create Alert.
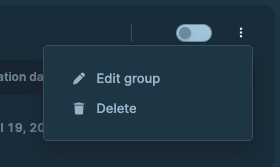
Edit a group
Open the Alerts module
Open Apps → Alerts and click Manage your Alerts.

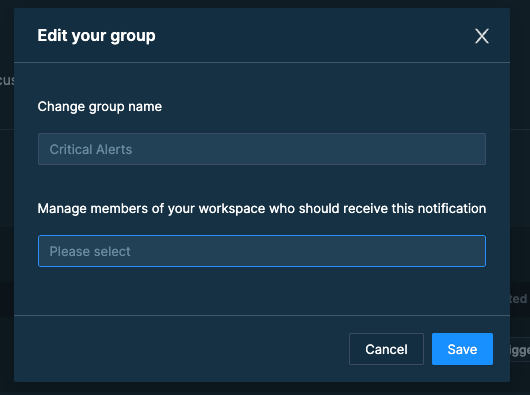
Save
Click Save.
Delete a group
Open the Alerts module
Open Apps → Alerts and click Manage your Alerts.
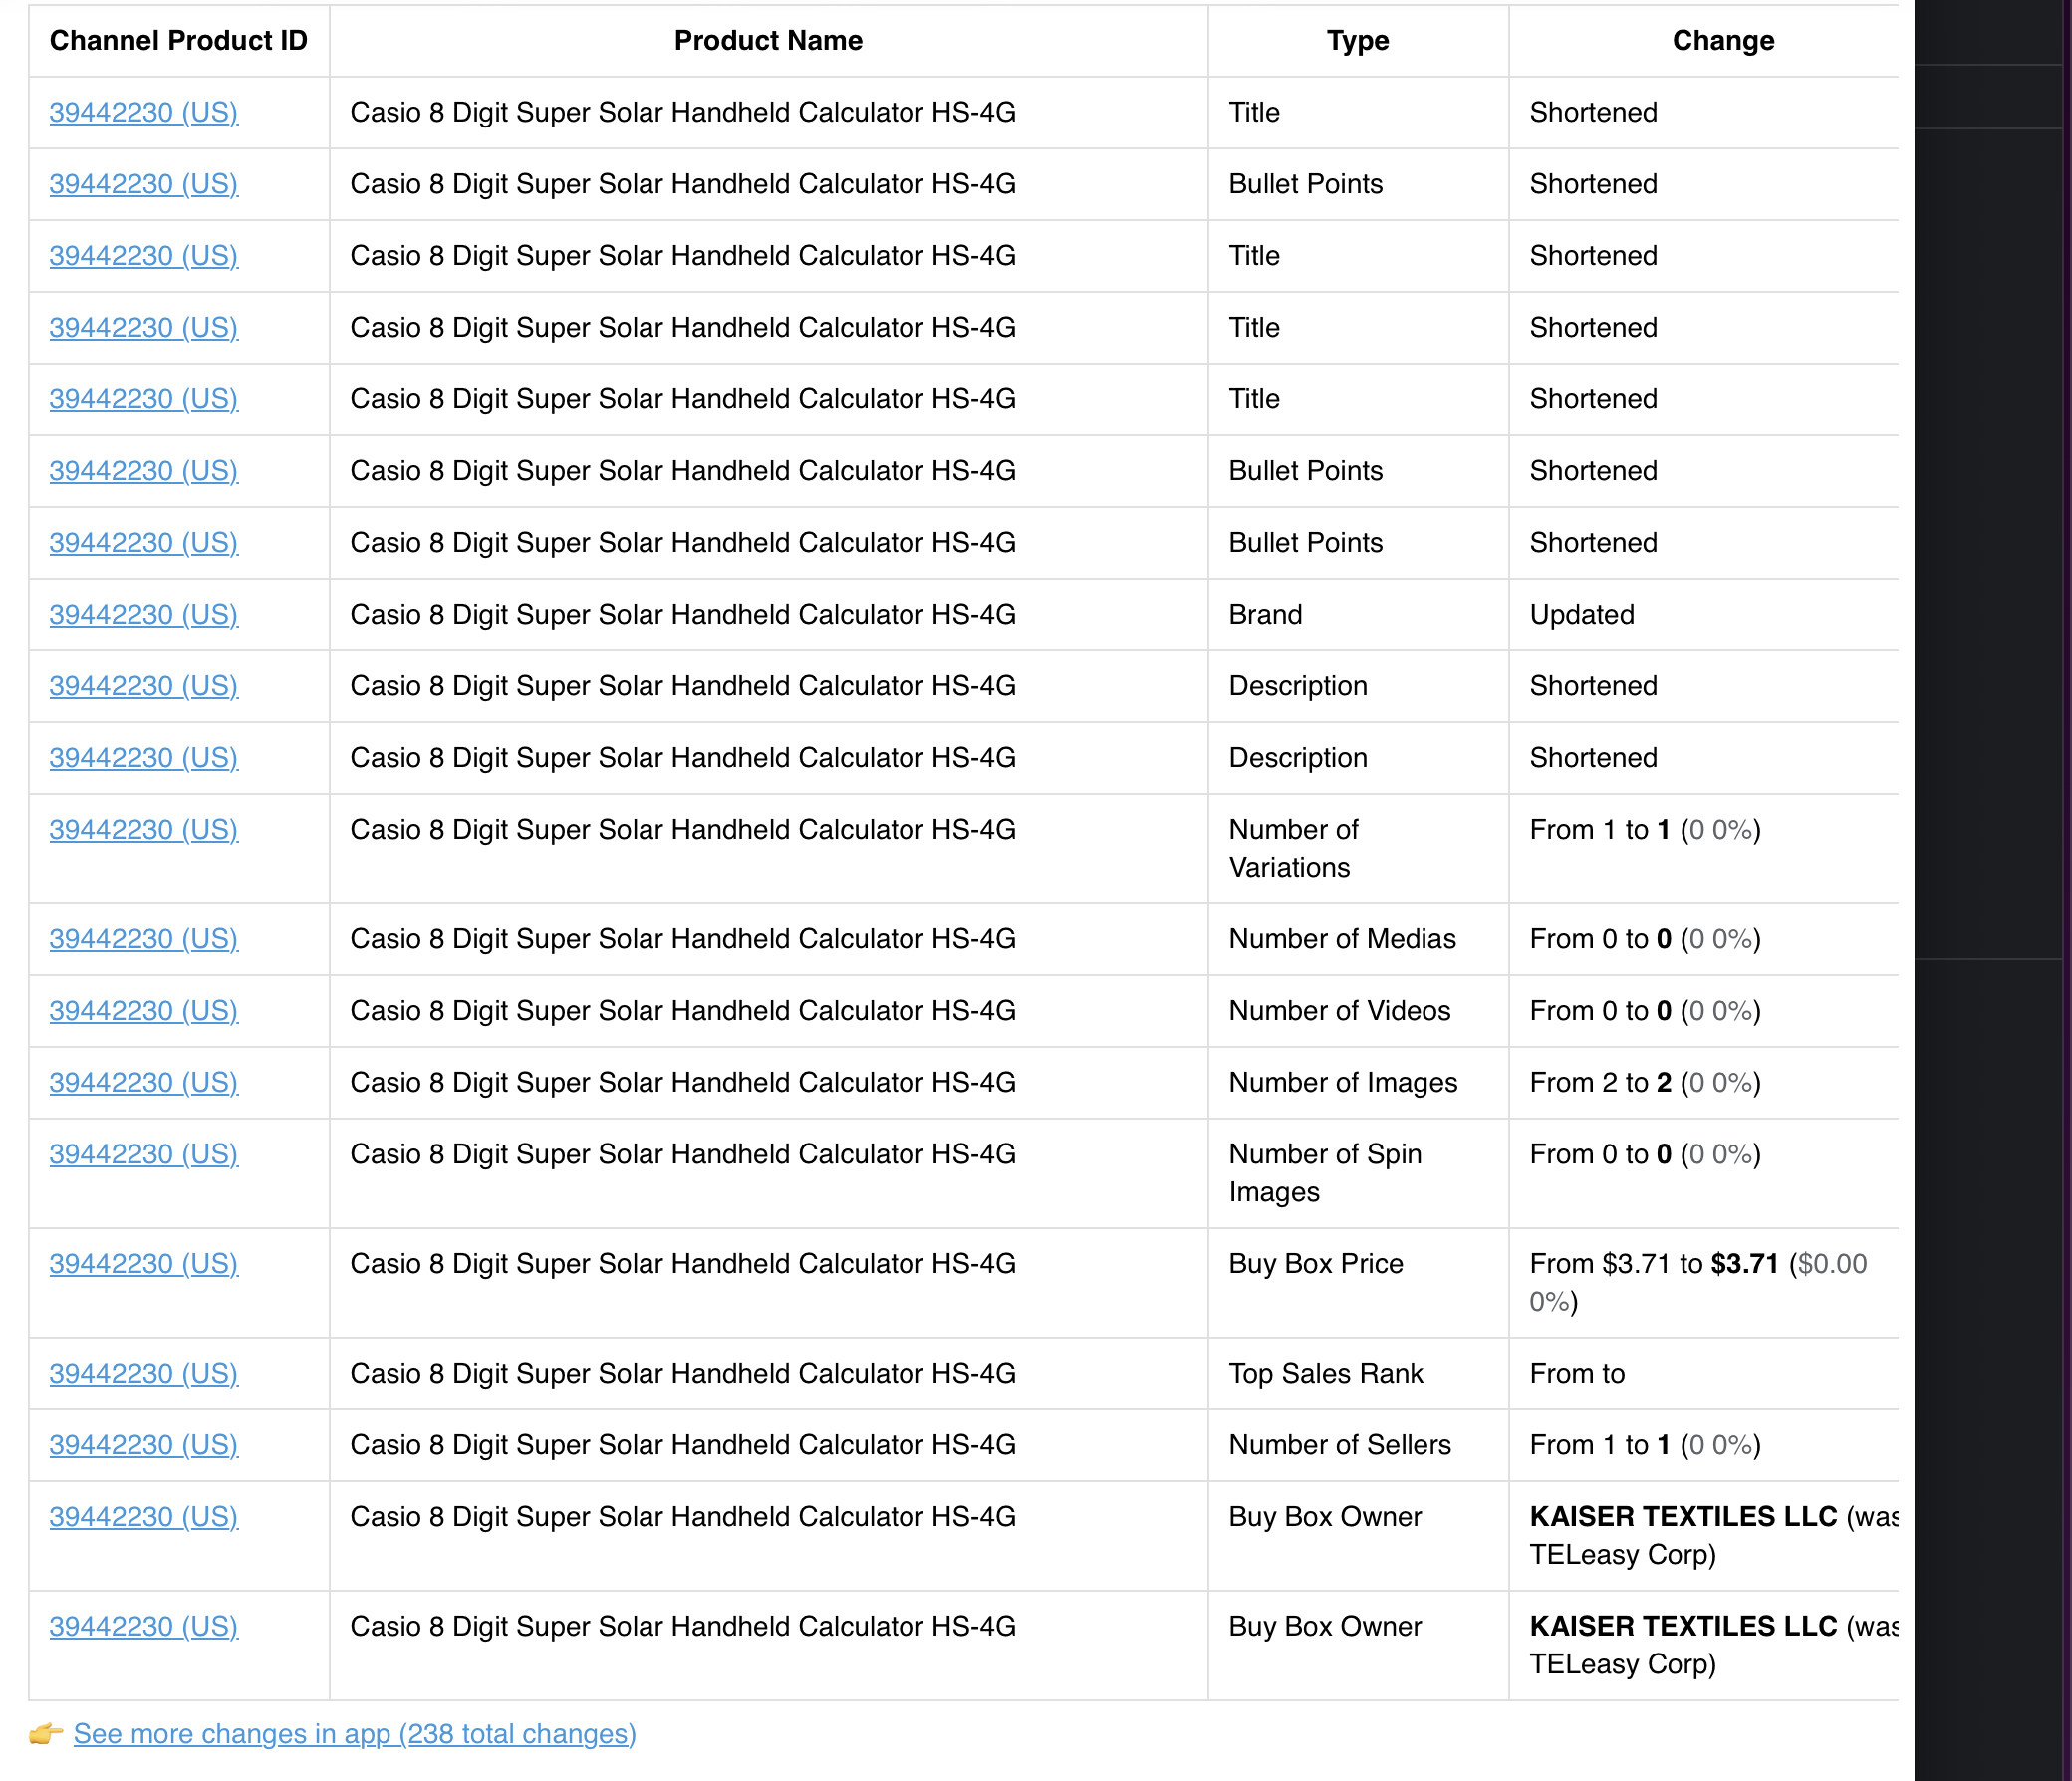
What the email looks like
Each daily email contains:
- A summary line per triggered event (max 20)
- If you have more than 20, you can go on "See more changes in app (XXX total changes)"
- The product or tag the event relates to
- A link back to the relevant DataHawk report
When emails are sent
DataHawk runs the trigger checks once per day and bundles all events into a single email.
Every day at 12pm CET.
Other delivery channels
If you need delivery somewhere other than email today, you can build a workflow with DataHawk MCP and a tool like n8n or Make. They can read your DataHawk data and post to wherever you need.